My Dining Room Table Makeover
This was a fun, challenging and, intense project to complete. We had been contemplating getting a new table ever since we moved almost 2 years ago. I’ve had this dining room table for 13 years, before I met Sean. It has made many moves with me and although she is still going strong, she was in need of a makeover/upgrade. The brown just didn’t really go with the rest of our home’s aesthetic. And if I’m being honest, I wanted to donate this table and just get a new one. Sean, my practical, resourceful husband said rather than get rid of a perfectly good table, why don’t we don’t we re-do the top.
We decided to clean it up and give it a whole new look. Sean, the Virgo mind he is (IYKYK), did some extensive research on refinishing counter tops for an affordable price and that is where he found Stone Coat Countertops. These are entirely customizable. We knew we wanted a blueish, gray, beige, white blend with a hint of silver and gold throughout. Definitely a whole different vibe from what we previously had.
Please keep in mind, this is not a “step by step how to” tutorial post. This is just MY experience and how we did it. It is necessary to watch this short video from Stonecoat Countertops so you understand the gist of how this process is done, if you are going to take on this. Take it mind they make it look VERY easy so just make sure you are prepared and really understand what you are doing. HERE.
There are also many other brands to choose from, not just Stonecoat Countertops. This is just the company we chose. To put this in layman’s terms you are essentially tinting the epoxy with spray paint and then layering those colors all together. Once you pour the mixed epoxy onto the surface, the colors will spread throughout the space creating a unique blend of colors that mimic a natural stone. Once the epoxy was poured, we used a hair dryer to slightly manipulate the colors and where the designs formed on the surface.
BEFORE


This was after we had sanded it down and filled in any cracks/ chips with plastic wood putty. Because this table has been through multiple moves and a move across states, there were some areas that had to be filled prior to do ing this project.
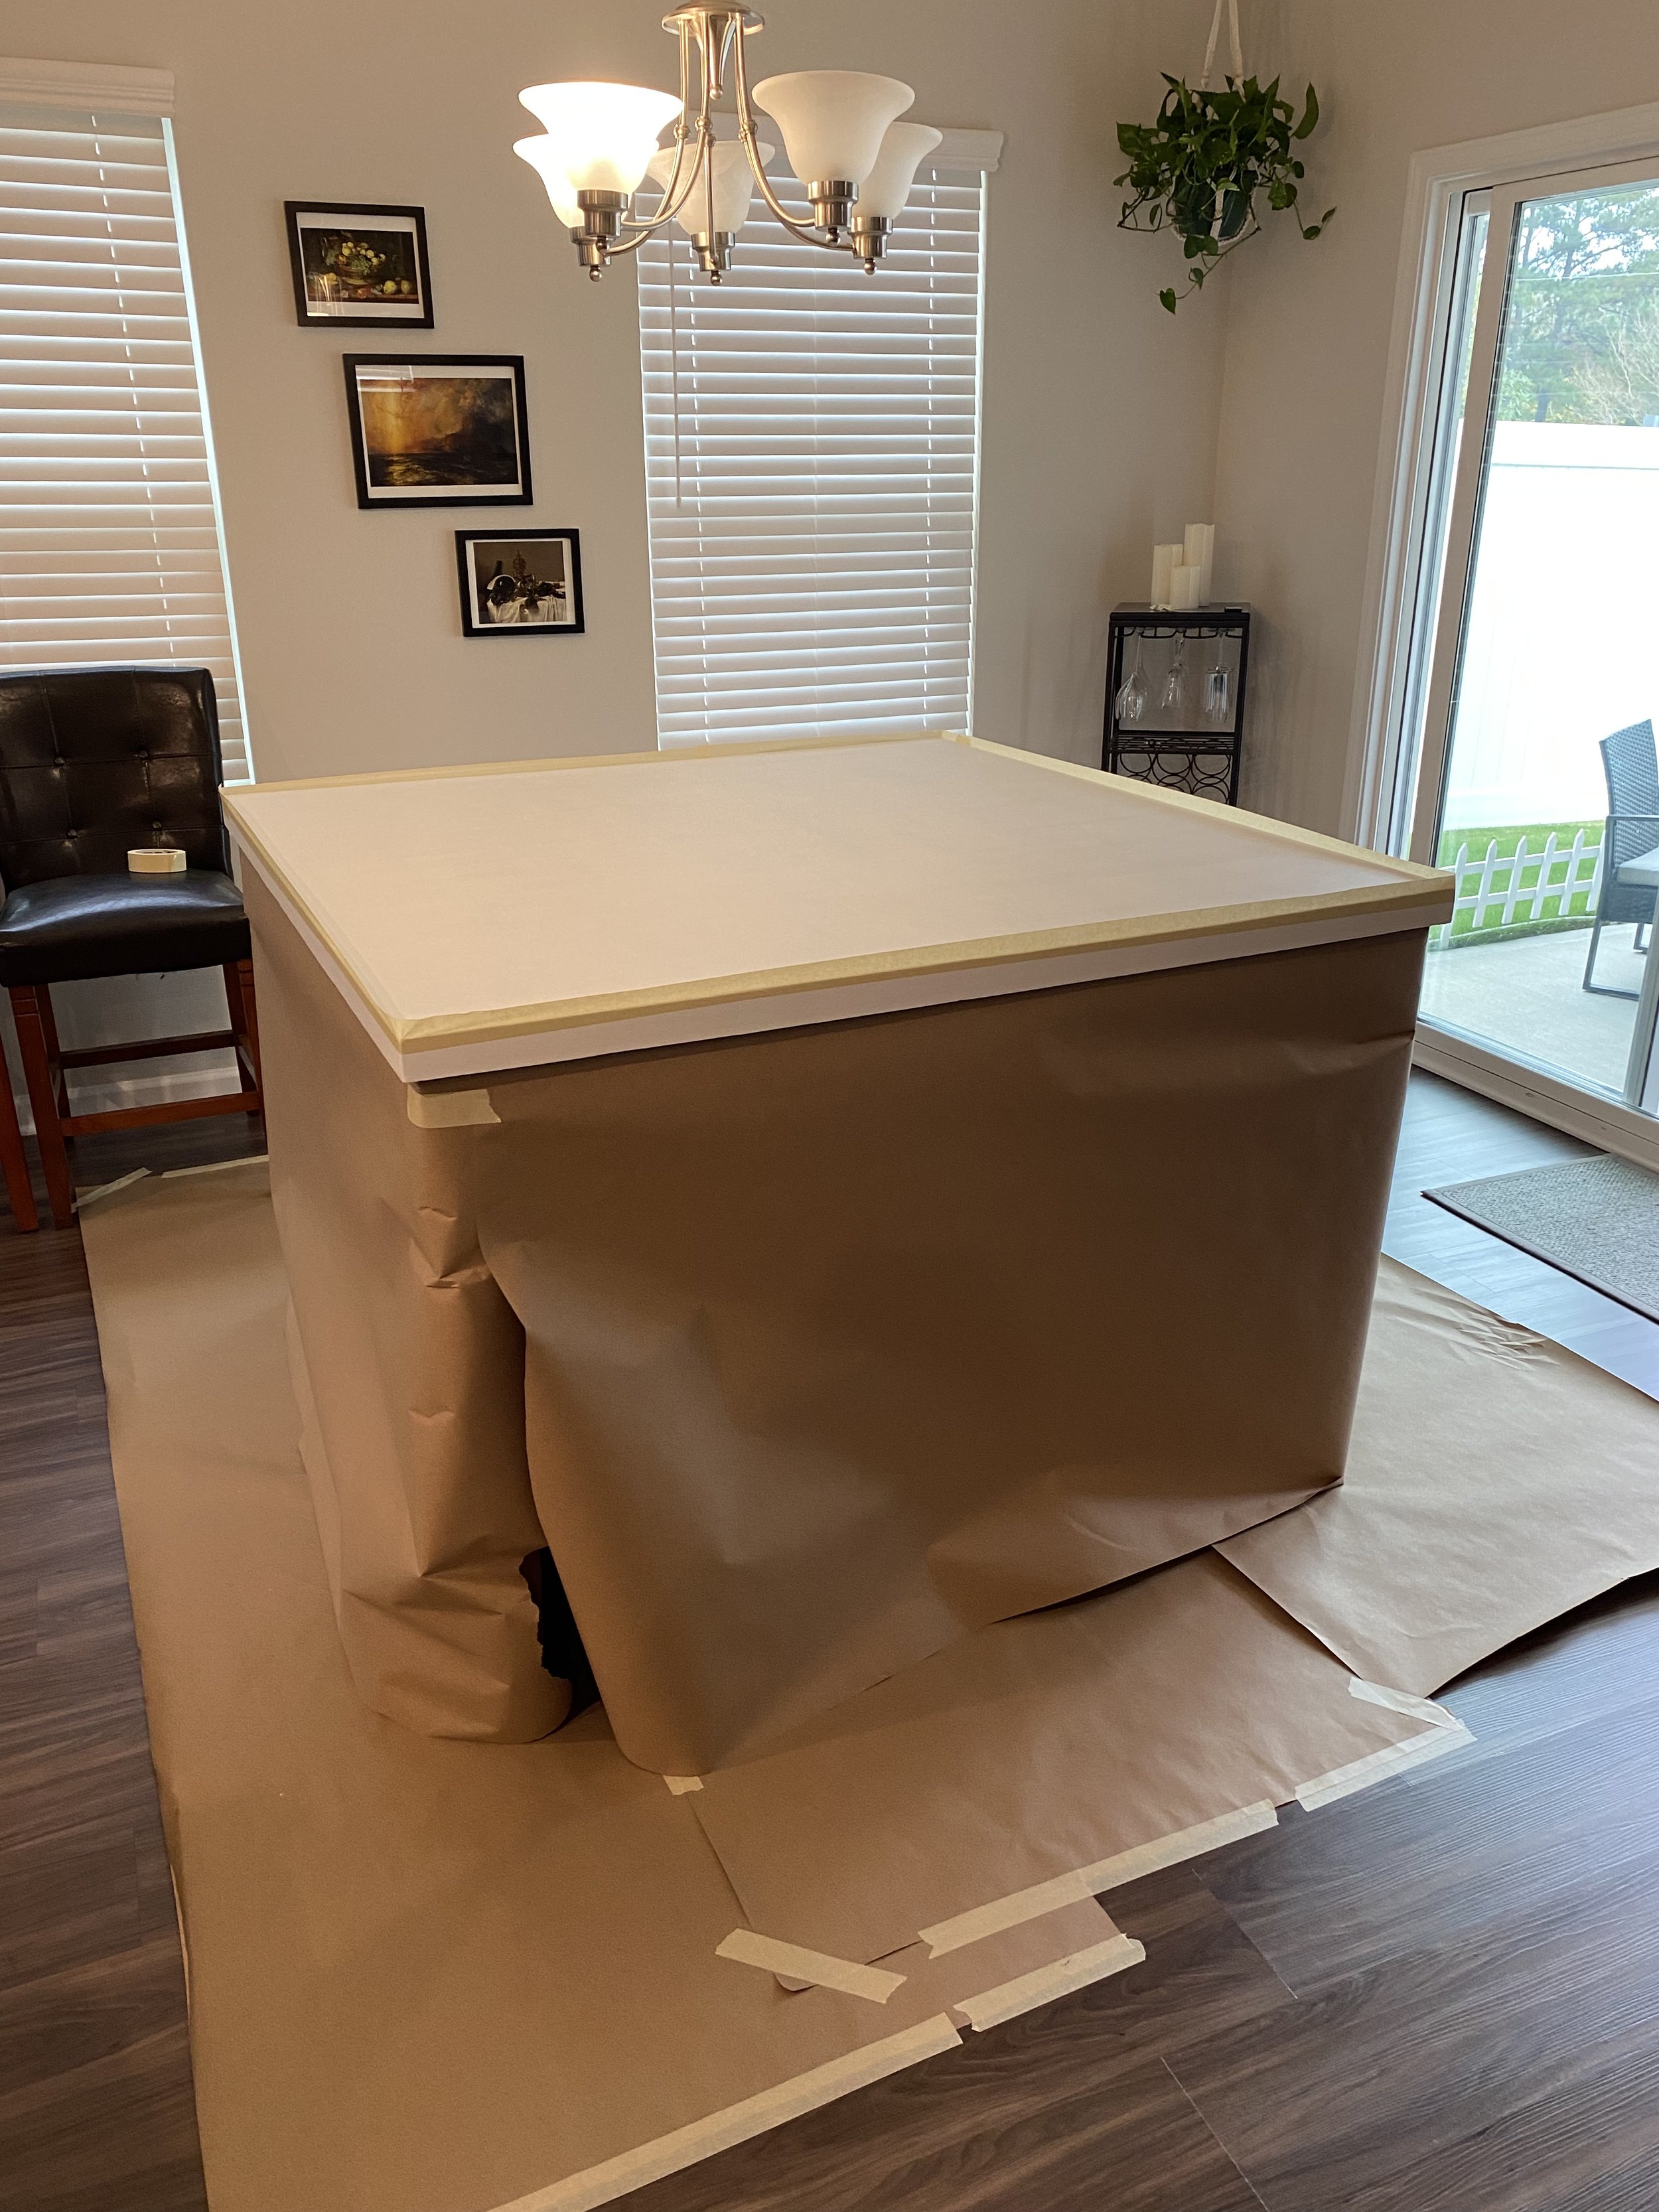
Prep work space
We did about 3-4 coats of the primer to really ensure a nice clean white base to pour the epoxy onto.
So… we decided to not dismantle the entire table to bring it in our garage. Instead we did this project inside, as is. Thankfully it was a very cool day and we could have the sliding glass door open to provide ventilation. But with that being said, I suggest doing this in a proper work space, if you can.

Let me just tell you this was a VERY messy situation and I was slightly freaking out through out this. My suggestion is to really prep your work space prior to starting a project like this. We ran out of gloves, didn’t have enough cloths, went through like 2 rolls of paper towels (sorry trees).

ahhh, she’s done. It take about 24 hours to fully cure. It was like waking up on Christmas morning to see how it had cured overnight.


All in all, for our first epoxy project, we are very happy with how it turned out. Its certainly not perfect and if you look close enough, you can see some imperfections, but we feel very good about our work. The table itself is not completely finished. We still want to paint the legs. Once that’s done, she’ll be looking brand new! Overall this is a fairly simple project to do with 2 people. My best advice is to not rush, prep accordingly, and watch as many videos on this as you can. Stonecoat Countertops Youtube page is an excellent resource. We spent about $300 total for all the supplies and prep. A lot of the items we had before which was helpful.

*2024 update- Table is now painted and chair are also painted. Table is 100% complete.
LIST OF THINGS TO HAVE BEFORE
(not including any supplies from Stonecoat)
100% RUBBING ALCOHOL
BOX OF DISPOSABLE GLOVES
PACK OF CLEAR DISPOSABLE CUPS
PAINTERS TAPE
SANDING BLOCK
PROPANE TORCH
TARP/PAINTERS PAPER
CLEAN CLOTHS
LARGE MIXING ATTACHMENT FOR A DRILL
PAINT STICKS FOR MIXING PURPOSES
Let me know what you think! Would you try something like this?
XO,
Charlene